GODOT 4 TILESET GUIDE

Bring your Chipico tiles
to life in Godot.

Chipico exports a PNG tileset together with a Godot 4 .tres TileSet file. Put the two files in the same folder and they are ready to use in a Godot project.

CHIPICOPNG
+ .tres
GODOT 4

SETUP

Four steps to a TileSet

  1. 1

    Create an animation in Tile Structure mode

    Register the tiles you want to animate as frames of the same size. For Godot export, frames must be arranged continuously from left to right.

  2. 2

    Export for Godot

    Choose the Godot export in Chipico. It creates matching filename.png and filename.tres files.

  3. 3

    Keep both files together

    Place the PNG and .tres in the same folder, for example res://art/tiles/ in your Godot project.

  4. 4

    Assign the TileSet to a TileMapLayer

    Godot recognizes the .tres as a TileSet. Assign it to a TileMapLayer, then select tiles from source 0 in the palette and place them on the map.
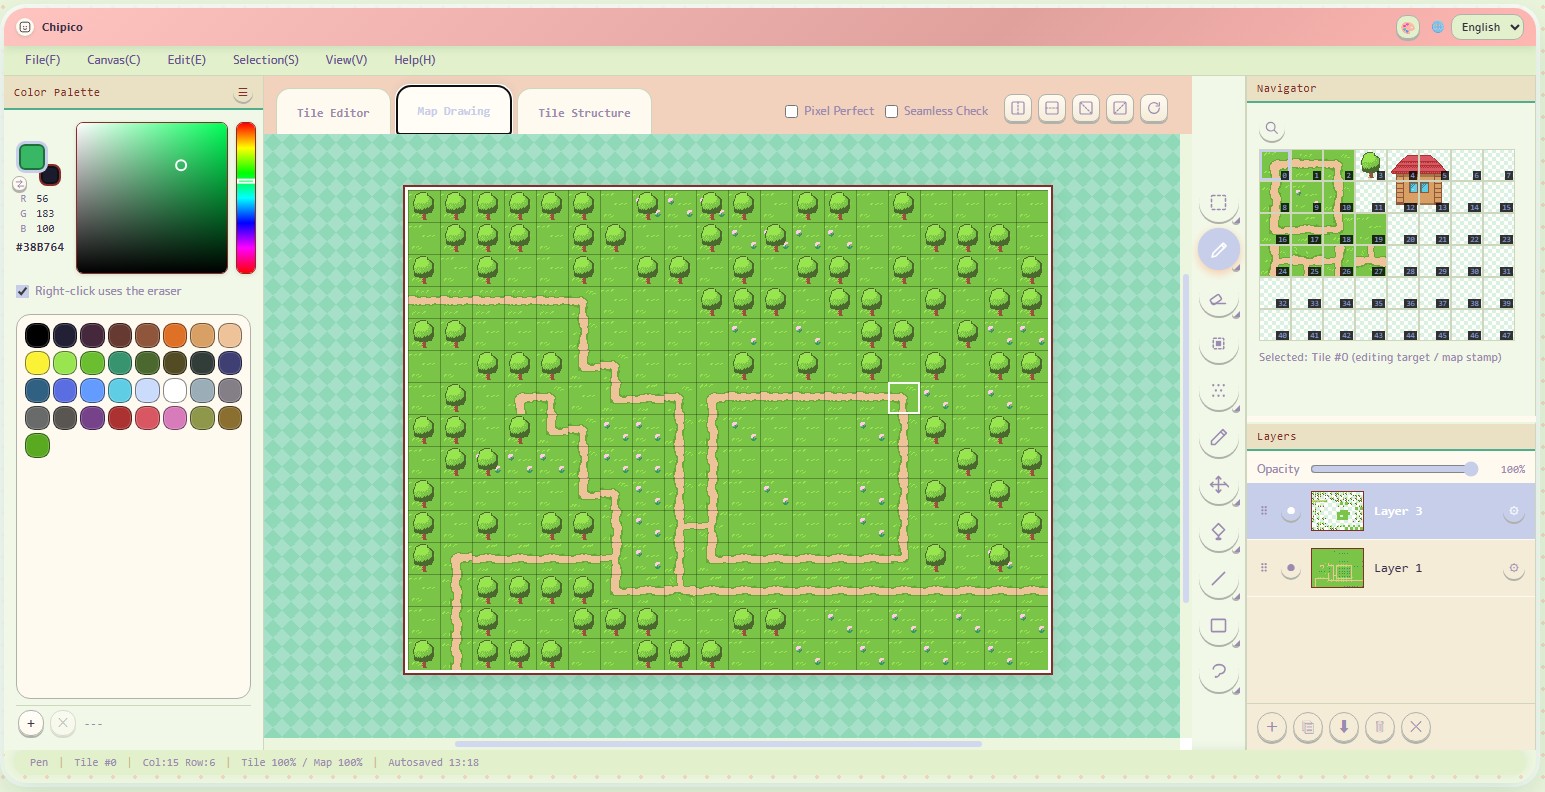
The Chipico Map Edit workspace with tiles placed on a map
Testing placement in Chipico first makes it easier to predict how a tileset will look in Godot.

ANIMATED TILES

Requirements for Godot animation

Continuous horizontal frames

Frames must start at the first tile and continue to the right without gaps.

One shared frame size

Every frame in the animation needs the same tile width and height.

Frame timing is exported

Each frame duration configured in Chipico is written to the .tres file in seconds.

!

Free ordering is for image export

WebP, GIF, and APNG can use a free frame order. Godot export needs the layout above.

WHAT IS EXPORTED

What goes to Godot

PNG

Your drawn tileset image. Exporting does not rearrange or duplicate the pixels.

.tres

Godot 4 TileSet data: tile size, multi-cell tile size, animation frame count, and frame duration.

Groups

Groups organize tiles inside Chipico. In Godot export, each cell from a group is handled as a normal individual tile.

Try Chipico ↗Back to the guide →